When programmable thermostats first came out, I was skeptical. I decided to do a little research, as the local power company was advertising them as the greatest thing since sliced bread. My old house central A/C unit used electricity like it was free, so I would turn it off during the day, and come home to an oven at night. Leaving it on for the cats wasn’t much better- I wound up counting pennies to keep the electricity on.
Everyone I asked at the power company said they worked wonders. Even my local Home Depot friends said they were worth their weight in gold. To my amazement, several brands were available.
I chose a unit that didn’t have many features and paid $25.00. That weekend, I turned the power to the house off (I’m afraid of electrical shock), and installed it. Within three weeks it paid for itself and then some. By the end of the year, I saw nearly $750 in savings. I haven’t looked back.
If I can install one, so can you. Here’s a general installation for programmable thermostats. Those that include separate furnaces or outside sensors may require hiring an electrician, but the energy savings will pay for the costs.
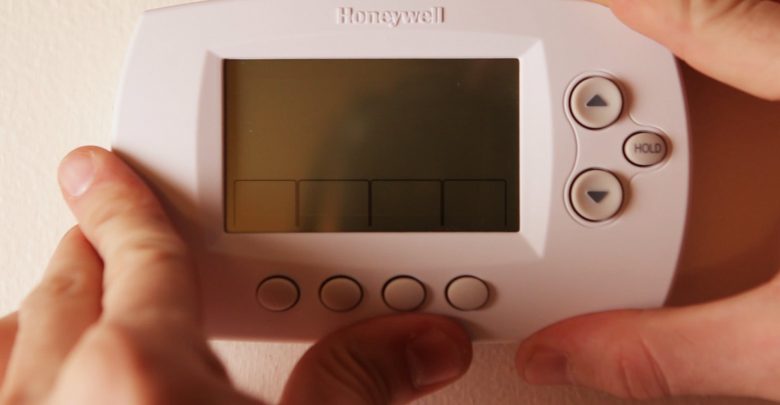
Open the package to your programmable thermostat and read the instructions carefully.
Turn the electricity off to the air conditioner /heater. An electrician friend once told me, “There are old electricians, and bold electricians, but no old bold electricians.” I’m not bold.
Go to the old thermostat and remove it. The face plate should come off easily. Don’t start undoing any wiring yet.
If your new thermostat package includes labels for the wires, attach them to the wires the old thermostat is using. Each wire is connected to a terminal with a letter next to it. Here, wire colors don’t mean much- pay attention to the letters.
Remove the mounting screws and carefully remove the old thermostat. If it’s a mercury- filled thermostat, dispose of it properly. Make sure the wire labels stay in place. Above all, don’t let the wires fall back inside the wall- that’s a headache no one wants. To remove the screws properly and easily, make sure to use a quality impact driver. Find the best dewalt impact driver model for you and make sure that you choose the ones with quality structure and at the same time, price friendly.
Slide the new thermostat over the wires, and mount the unit to the wall using the screws.
Attach the wires to the appropriate letters in your new unit. Labeling the wires makes certain you get the right wire to the right control.
Attach the face plate of the unit. Install the battery if the unit needs one for the digital display and turn the power back on.
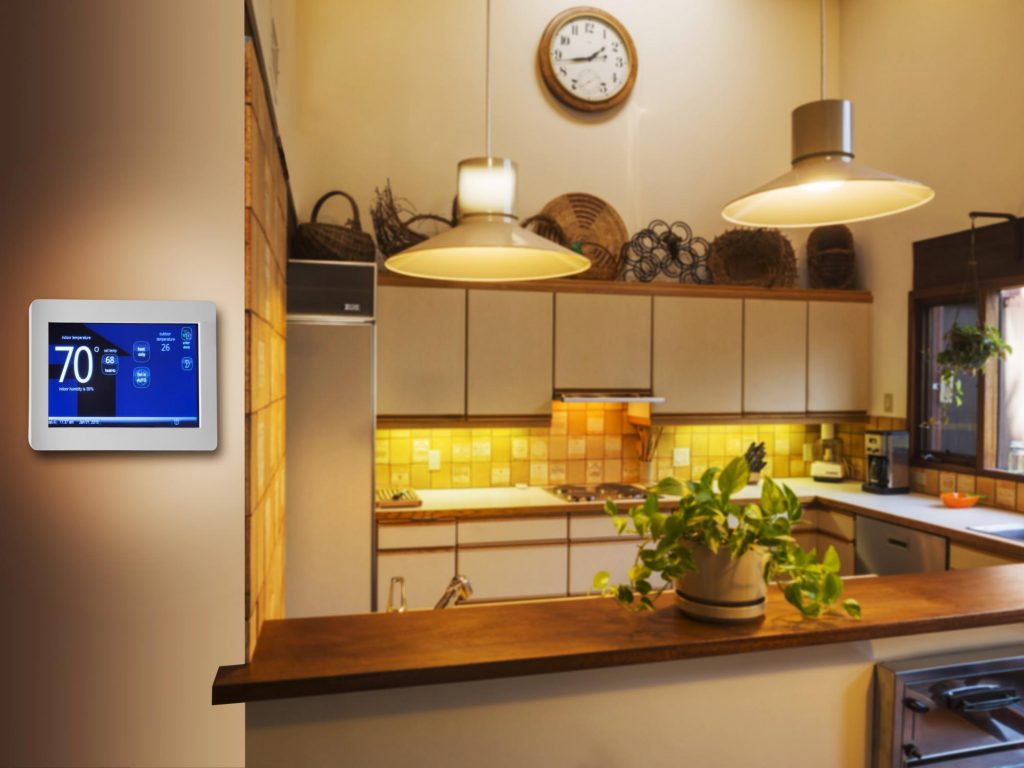
Using the instructions, program your new thermostat. You can lower and raise the temperature to meet your needs at any time of year.
Enjoy the savings.

Some notes to keep in mind:
Purchase an Energy Star rated model for the best energy savings.
Decide what your energy needs for heating and cooling are, and buy only the unit you need. The model I purchased allowed me to raise or lower the temperature twice a day during the week and on the weekends. Other models have far more features.
Purchase the right model for your house. If you have a separate furnace, heat pump or other type of heater, let the DIY associate know, so they can help you find the right model.
If purchasing online, find out of you can call or email the manufacturer so they can help you choose the right model. Once you know their recommendation, you can look for a less expensive model that will do the same things you need.
I installed my thermostat being scared witless of being shocked, and I was fine. I didn’t burn my house down, either. Just follow the directions and you’ll be okay.
If all else fails, you can always hire an electrician.